Encrypt My Devices
How to encrypt a Windows computer with VeraCrypt
We recommend that you upgrade to a version of Windows that will support native BitLocker encryption (e.g. Windows 10 Education, Pro or Enterprise). If this isn't an option, and the version of Windows on your personally-owned computer does not support BitLocker (e.g. Windows 10 Home), then you can encrypt your computer using VeraCrypt. These instructions will help you install and configure VeraCrypt.
What you will need:
- Your computer and your charger
- An external hard drive
- A power source
- A blank CD / DVD (recommended if you have an optical disc drive)
Please follow the instructions below for your specific operating system to encrypt your computer. Encryption can be risky if not done right, and it is essential that you follow the instructions carefully. If you have any questions, please contact privacy.matters@ubc.ca.
Stage 1: Check if your computer has already been encrypted
If your computer is already encrypted, don't encrypt again. To check if your computer has already been encrypted, follow the instructions on the UBC IT Knowledge Base.
Stage 2: Back up your computer
See the instructions for how to back up your Windows computer on this webpage.
Stage 3: Download and enable VeraCrypt to encrypt your device
- Download VeraCrypt from the VeraCrypt website. Go to https://www.veracrypt.fr and click on ‘Downloads’ and then choose the Windows Installer. Once downloaded, run the installer.
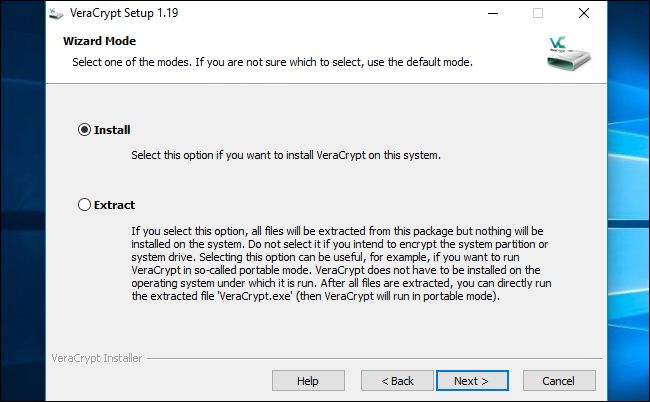
- Select the ‘default opening options’, and then select ‘Install’. Leave the defaults only and click ‘Install’. VeraCrypt will now install (this process may take a few minutes).
- Once installed, launch VeraCrypt from the desktop shortcut.
- Ensure your computer is plugged into a power source. Unless prompted, do not turn off your computer during this process.
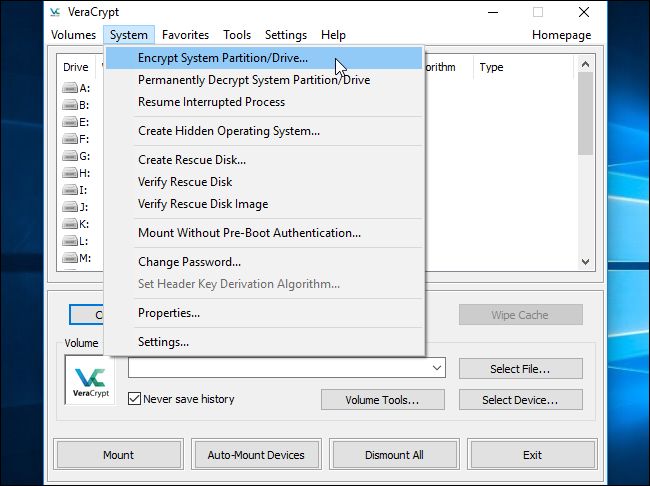
- Within VeraCrypt, choose the ‘System menu’, and select ‘Encrypt System Partition / Drive’.
- Choose ‘Normal’ and click ‘Next’
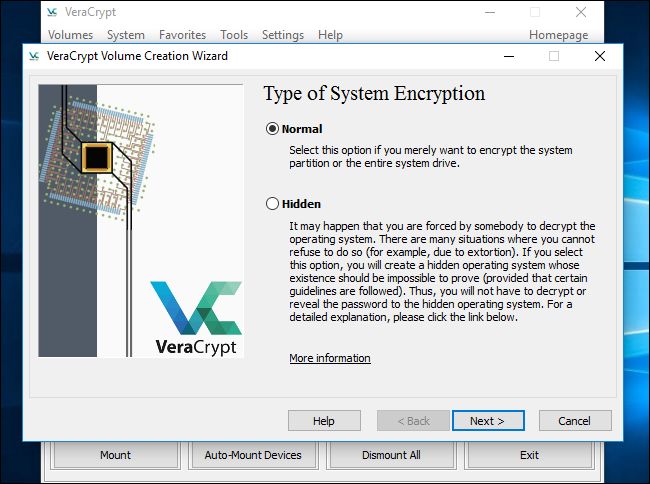 .
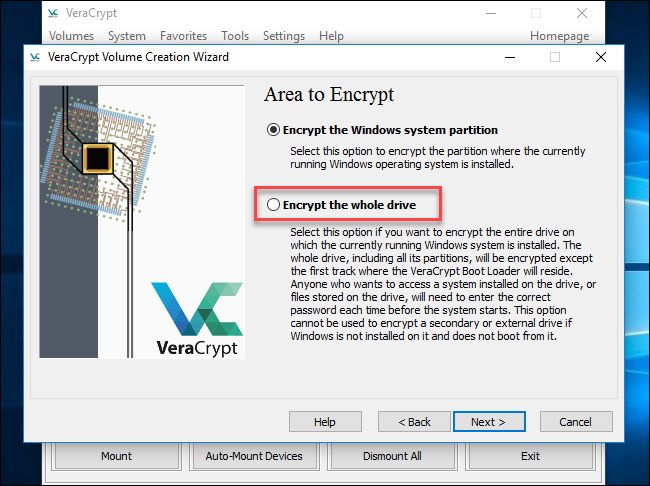
. - Select ‘Encrypt the whole drive’ and click ‘Next’, choose ‘No’ for ‘Encryption of Host Protected Area’.
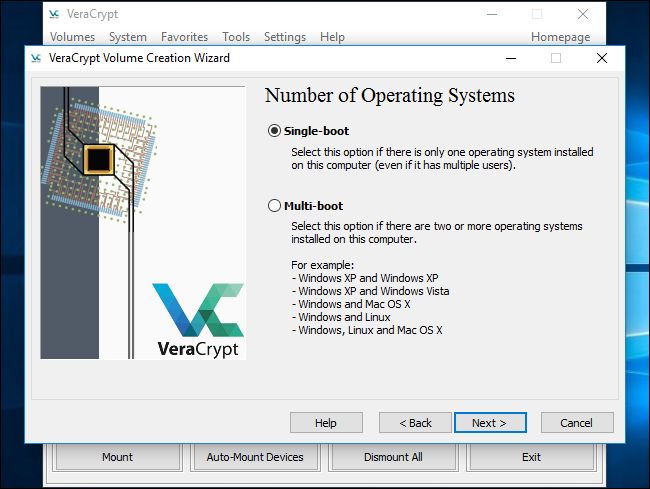
- Select Single-boot (unless you boot multiple Operating Systems on this computer).
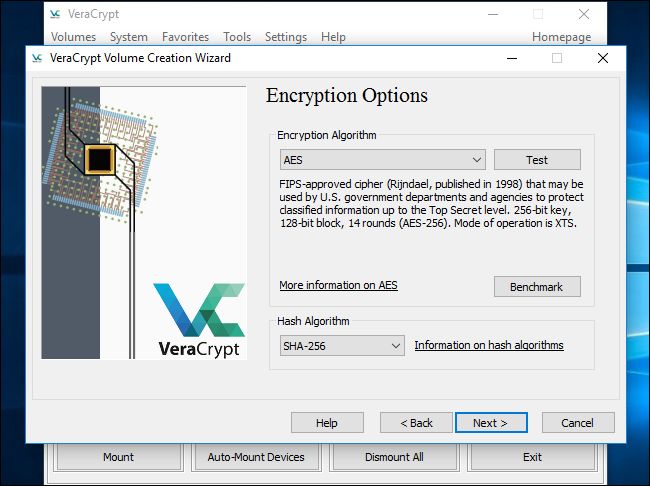
- Leave the encryption defaults as-is (AES and SHA-256).
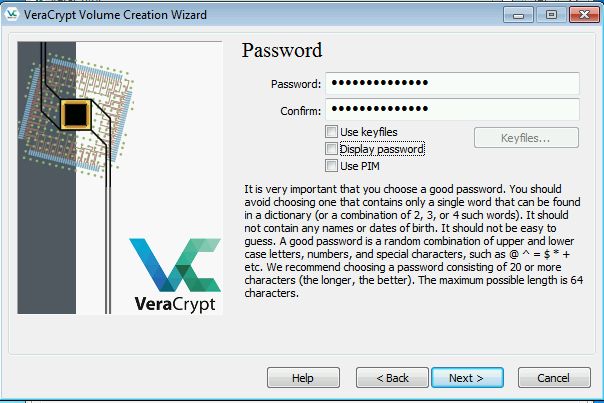
- Enter a password. It is critical that this password is something which you will remember.
- It is recommend that you also save a copy of this password to your personal network storage drive (UBC Home Drive - Vancouver; F: Drive - Okanagan), so that University IT Support Staff can assist you in the event of an incident.
- It is recommended that you store this password in a second location, in a safe place off of the computer you have encrypted, preferably in multiple safe places. See the options available to users to store their encryption recovery keys in the Encryption FAQ.
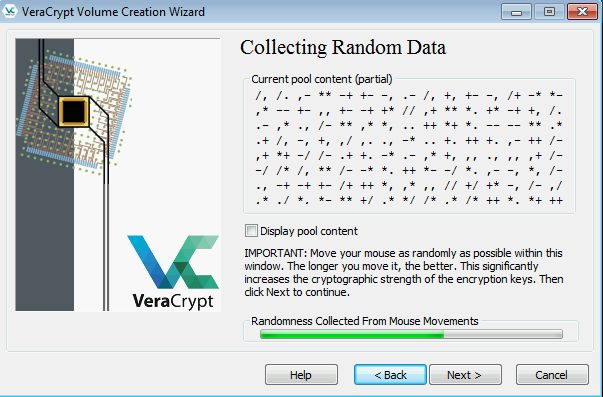
- Move your mouse around the screen, as directed, until the progress bar turns green before clicking ‘Next’ to pass the Collecting Random Data screen:
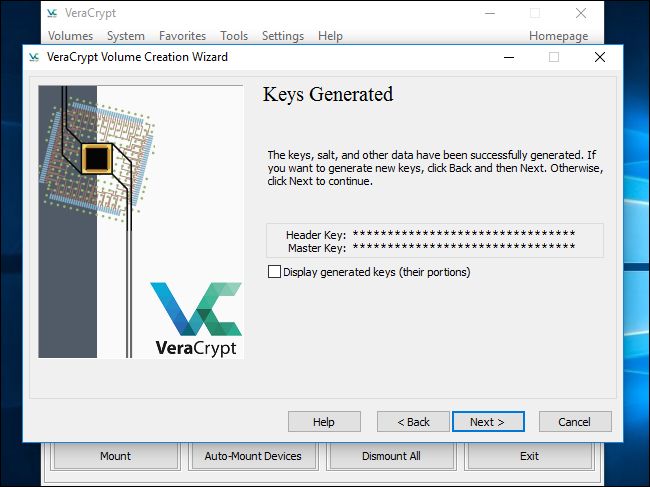
- Click ‘Next’ when presented with the ******* keys.
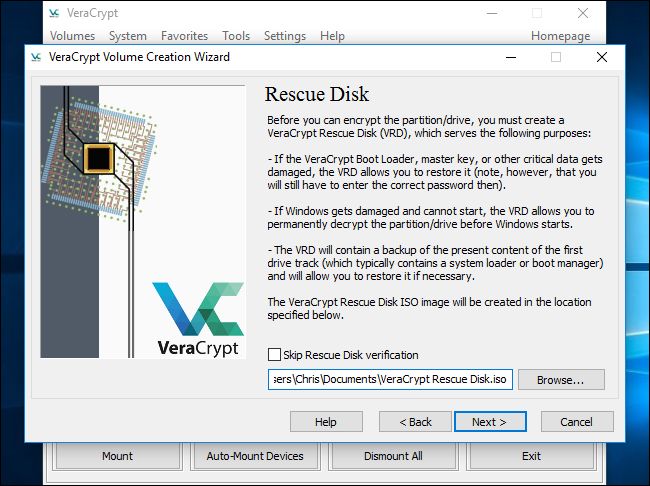
- It is recommended that you create a rescue disk at this step. Choose a location to save the rescue disk file.
- A USB key or a network storage location is recommended – you will also be prompted to burn a copy to CD if your PC is capable of burning disks. Do this if possible.
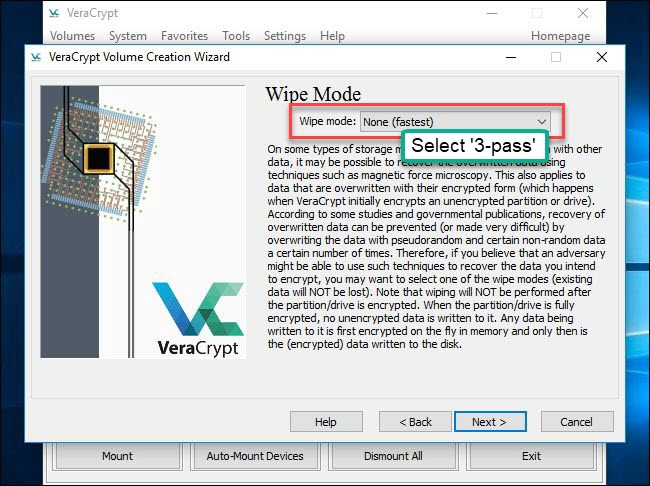
- Select wipe mode as ‘3-pass’ and then click ‘Next’.
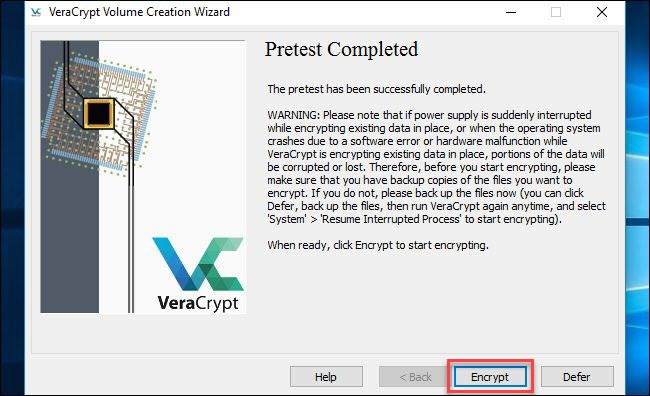
- Select ‘Test’. You will be prompted to reboot.
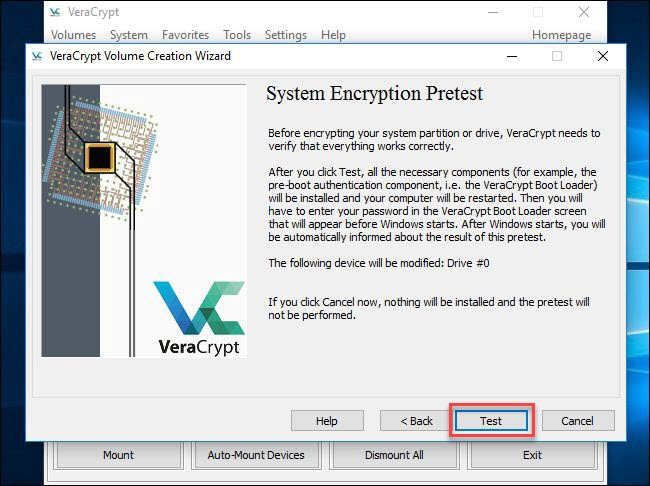
- During the reboot, enter your password (from above) and hit ‘enter’ when prompted for PIM (key).

- Presuming the test completed, click Encrypt to begin encrypting the drive. This process may take several hours.
How to encrypt an external USB drive using VeraCrypt
- Insert the USB drive, then launch VeraCrypt from the desktop shortcut.
- Open the ‘Volumes’ menu, and choose ‘Create New Volume’.
- Choose ‘Encrypt a non-system partition/drive’, click ‘Next’, then select ‘Standard VeraCrypt Volume’.
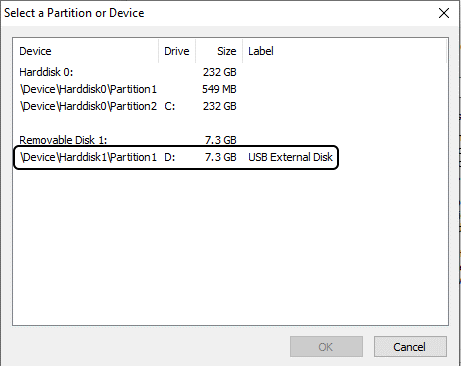
- Choose ‘Select Device’ and choose the entry for your USB key that includes a drive letter:
- Choose ‘Encrypt partition in place’ (if device contains data) or ‘Create encrypted volume’ (if device is blank).
- Leave defaults in place for ‘Encryption details’ (AES / SHA-512), click ‘Next’.
- Create a password. Make sure that this password is something which you will remember. You want to save this password in a secure location.
- Move your mouse as directed until the Random Data progress bar turns green, then click ‘Next’.
- Select ‘3 pass’ for the Wipe Mode, and then choose ‘Encrypt’ (this may take some time).
- Close the presented information screens.
- This will encrypt your device, but not connect (mount) it to this system. To do this, with VeraCrypt open, select an available drive letter from the list and click ‘Select Device’.
- Choose the USB drive from the list (choosing the entry that includes a drive letter), click ‘Mount’ and enter the password you entered earlier in the process.
- To mount this drive on other systems, you will need to use VeraCrypt. A portable version of the program (does not require install) is available from the VeraCrypt website under ‘Downloads’.