Encrypt My Devices
How to encrypt a Windows computer with BitLocker
BitLocker is available on the following Windows versions:
- Windows Vista and Windows 7: Ultimate and Enterprise editions
- Windows 8 and 8.1: Pro and Enterprise editions
- Windows 10: Pro, Enterprise, and Education editions
- Windows Server 2008 and later
What you will need:
- Your computer and your charger
- An external hard drive
- A power source
- A blank CD / DVD (recommended if you have an optical disc drive)
Please follow the instructions below for your specific operating system to encrypt your computer. Encryption can be risky if not done right, and it is essential that you follow the instructions carefully. If you have any questions, please contact privacy.matters@ubc.ca.
Stage 1: Check if your computer has already been encrypted
If your computer is already encrypted, don't encrypt again. To check if your computer has already been encrypted, follow the instructions on the UBC IT Knowledge Base.
Stage 2: Back up your computer
Do not encrypt until you have backed up your computer! If you do not back up your computer and issues are encountered during the encryption process, you will risk losing your data.
Windows 7
To back up your system in case of drive failure during encryption, follow these steps:
- Ensure your PC is plugged into a power source.
- Connect the external hard drive to your PC using the USB cable.
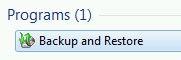
- Click Start and then type “backup”. Select ‘Backup and Restore’ under ‘Programs’.
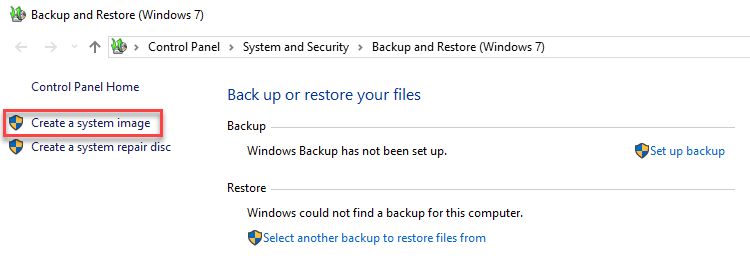
- Select ‘Create a system image’ in the upper left side of the window.

- Select ‘on a hard disk’, then select your external hard drive as the location to save the backup. Click ‘Next’.

- Add any additional hard drives to the list if you have any (default is none). Click ‘Next’.
- Click ‘Start backup’. Do not turn off your computer until the process completes. The backup may take several hours depending on the size of your data.
- Once the backup is complete, it is helpful to have a System Repair disc. You will be prompted to create one.
- Click ‘Yes’ to create a disc, ensure a blank CD / DVD is in the optical drive and click ‘Create Disc’.
Windows 8
To back up your system in case of drive failure during encryption, follow these steps:- Ensure your PC is plugged into a power source.
- Connect the external hard drive to your PC using the USB cable.
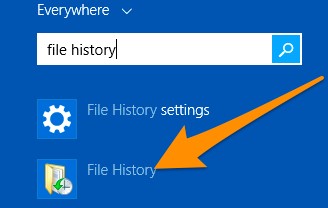
- Click Start, type “file history”, and select ‘file history’.
- Select ‘System Image Backup’ in the bottom left hand corner of the File History window.
- A new window will open. Select ‘Create a system image’ in the upper left side of the window.
- Select ‘on a hard disk’ and select your external hard drive as the location to save the backup. Click ‘Next’.
- Add any additional hard drives to the list if you have any (default is none). Click ‘Next’.
- Click ‘Start backup’. Do not turn off your computer until the process completes. The backup may take several hours depending on the size of your data.
- Once the backup is complete, it is helpful to create a System Repair disc, if you can. You will be prompted to create one. Click ‘Yes’ to create a disc, ensure a blank CD / DVD is in the optical drive and click ‘Create Disc’.
Windows 10
To back up your system in case of drive failure during encryption, follow these steps:- Ensure your PC is plugged into a power source.
- Connect the external hard drive to your PC using the USB cable.
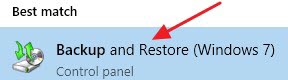
- Click Start, type “backup”, and select ‘Backup and Restore (Windows 7)’ or ‘Backup settings’.

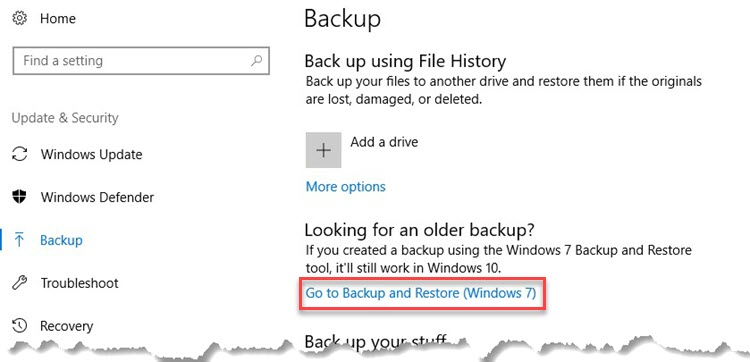
- If you navigated to the Backup Settings page – click on ‘Go to Backup and Restore’.
- A new window will open. Select ‘Create a system image’ in the upper left side of the window.
- Select ‘on a hard disk’ and select your external hard drive as the location to save the backup. Click ‘Next’.
- Add any additional hard drives to the list if you have any (default is none). Click ‘Next’.
- Click ‘Start backup’. Do not turn off your computer until the process completes. The backup may take several hours depending on the size of your data.
- Once the backup is complete, it is helpful to create a System Repair disc, if you can. You will be prompted to create one. Click ‘Yes’ to create a disc, ensure a blank CD / DVD is in the optical drive and click ‘Create Disc’.
Stage 3: Enable BitLocker to encrypt your computer
Do not encrypt until you have backed up your computer!
Windows 7, 8, 10
- Ensure your PC is plugged into a power source. Unless prompted, do not turn off your PC during this process.
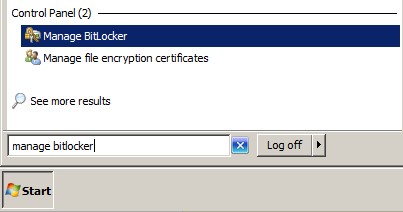
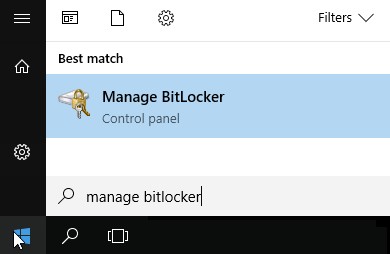
- Click on the Start menu, type “Manage Bitlocker” in the search box, click ‘Manage Bitlocker’.
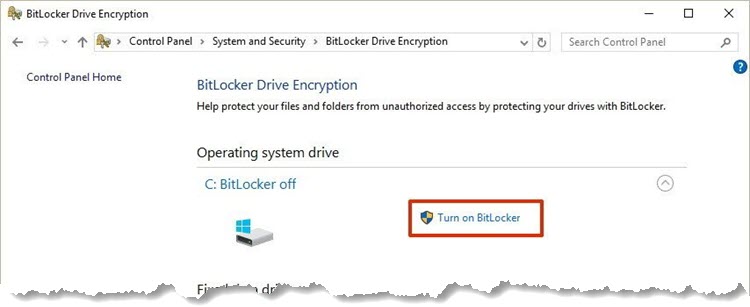
- Click ‘Turn on BitLocker’. This process will complete regardless of sign out or shut down.
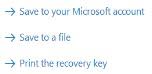
- Choose where to save recovery key.
- It is highly recommended that you allow Microsoft store your recovery key using your Microsoft Account.
- It is recommend that you also save a copy of your recovery key to your personal network storage drive (UBC Home Drive - Vancouver; F: Drive - Okanagan), so that University IT Support Staff can assist you in the event of an incident.
- It is recommended that you create a second recovery key and store it in a safe place off of the computer you have encrypted, preferably multiple safe places. See the options available to users to store their encryption recovery keys in the Encryption FAQ.
- If turning on BitLocker fails, contact your UBC IT or your local IT Support. You may not have a TPM Chip.
Saving your recovery key is very important. If you do not know your device password and you lose access to your encryption recovery key, there is no way to access your data.
See the options available to users to store their encryption recovery keys in the Encryption FAQ.
See the options available to users to store their encryption recovery keys in the Encryption FAQ.
How to encrypt an external USB drive using BitLocker (Windows 7, 8, 10)
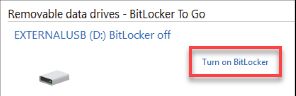
- Insert the USB drive. Click on the Start menu, type “Manage Bitlocker” in the search box, click ‘Manage Bitlocker’.
- Locate your USB drive under Removable data drives, and click ‘Turn on BitLocker’.
- Select the Enter a password, then enter and verify a password to access the drive.
- Make sure that this password is something which you will remember.
- Choose to save or print your recovery key (whatever makes the most sense for you).
Note: You will not be able to save your recovery key to an encrypted drive, so you will need to use your UBC Home Drive (or another web-based document repository) if you select Save to a file. If you chose to Print the recovery key, keep this somewhere safe and out of sight.
- Select ‘Encrypt entire drive’, click ‘next’, and choose ‘Compatible mode’.
- The drive will now encrypted. Once the dialogue box reaches 100%, the drive is ready to be removed and used elsewhere.
Additional Resources
BitLocker (and BitLocker-to-Go) for Dummies (ZDNet)BitLocker Drive Encryption Overview (Microsoft)